WordPress is one of the most popular blogging platforms with many powerful features, and Custom Post Type & Custom Taxonomy in WordPress is one of them. Let’s first understand the custom taxonomy in WordPress.
What is a Custom Taxonomy in WordPress?
WordPress provide four built-in taxonomies which is defined below:
- Categories (hierarchal),
- Tags (multifaceted),
- Links (multifaceted),
- Navigation menu (hierarchal).
WordPress offers a new way to group content and allowing you to create your own custom taxonomy in WordPress to group your content. The WordPress Core developers have created the register_taxonomy() function to handle heavy work for us. All you need to do is understand how to configure all settings to suit your needs.
In this article, I will explain to you every step to create custom taxonomies as well as how to display your custom taxonomies in your WordPress theme.
Creating a Custom Taxonomy Manually
If you are a WordPress Developer and don’t want to install any WordPress plugin to create custom Taxonomy, then you can create manually by adding the required code in your theme’s functions.php file.
Suppose we want to create a custom taxonomy for custom post type “News”. Now let’s take a look at a piece of code that adds “Location” as your custom taxonomy option in the admin panel.
// Hooking up our function to theme setup taxonomy

add_action('init', 'register_custom_taxonomy');

function register_custom_taxonomy()
{
    $labels = array(
        'name'              => _x('Locations', 'taxonomy general name'),
'singular_name'     => _x('Location','taxonomy singular name'),
'search_items'      => __('Search Location'),
'all_items'         => __('All Location'),
'parent_item'       => __('Parent Location'),
'parent_item_colon' => __('Parent Location:'),
'edit_item'         => __('Edit Location'),
'update_item'       => __('Update Location'),
'add_new_item'      => __('Add New Location'),
'new_item_name'     => __('New Location Name'),
'menu_name'         => __('Locations'),
);

$args = array(
'hierarchical'      => true, // make it hierarchical (like categories)
'labels'            => $labels,
'show_ui'           => true,
'show_admin_column' => true,
'query_var'         => true,
'show_in_rest' => true,
'rewrite'    => array('slug' => 'location'),
);

register_taxonomy('locations', 'news', $args); // Register Taxonomy
}
Whenever you want to create custom taxonomy with your WordPress project, it is required to use init for the hook in add_action(). The register_taxonomy() function takes the three arguments.
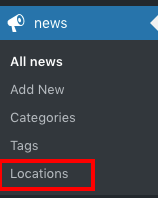
To see how it will appear at the end of your WordPress Admin dashboard, Refer to the image below.
Add few terms to your new taxonomy
Now we can add a few terms to your newly created taxonomy to check working functionality. Refer to the below image
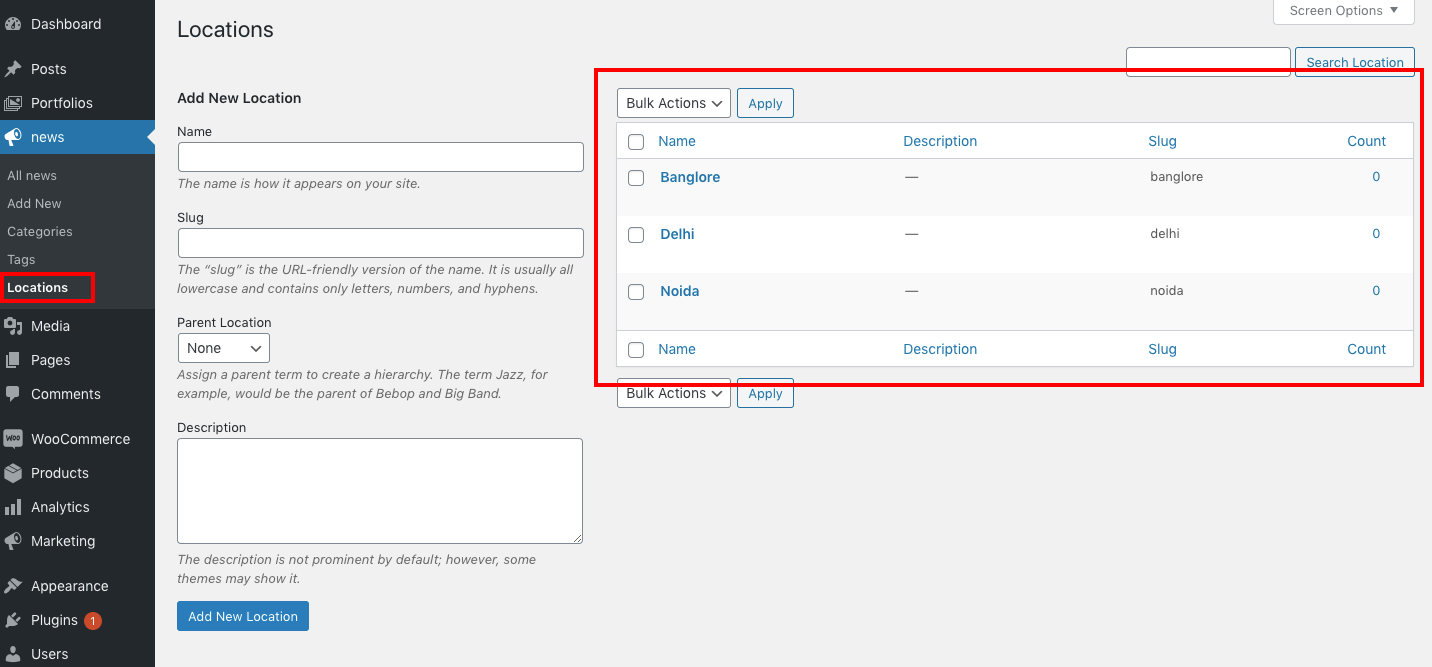
In the above image, you can see that I added 3 location terms in the admin area for post type News.
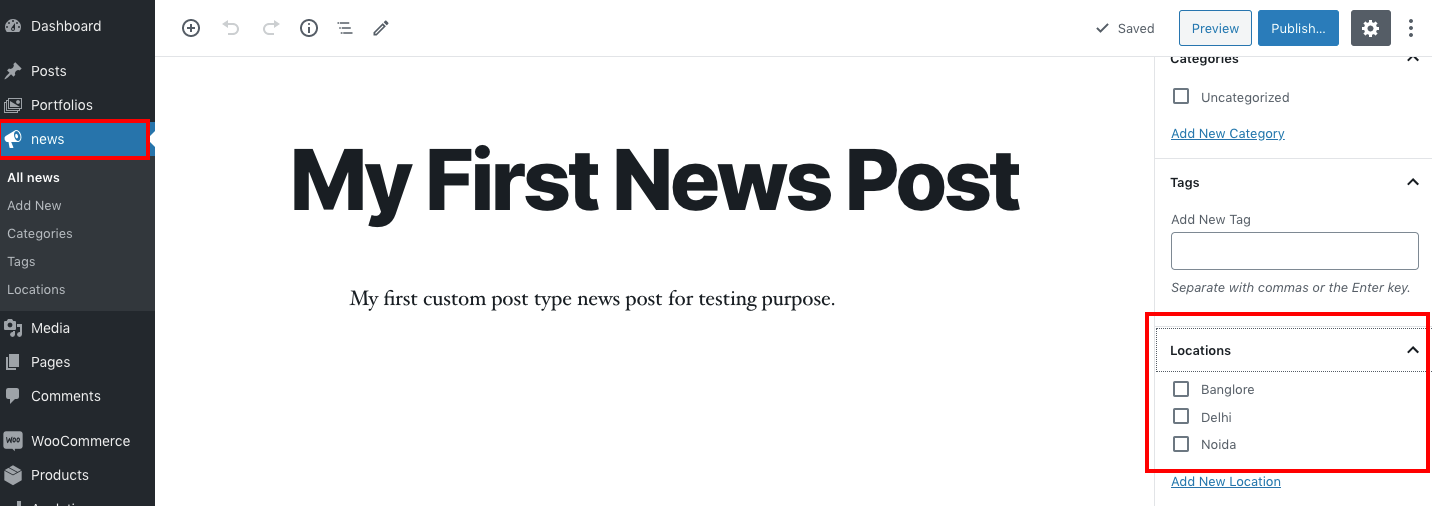
After adding a few terms in the WordPress admin area a new “Locations” box will appear to the right of your posts. You can start grouping the content by location in your posts. Refer to the below image
Displaying Custom Taxonomies
Add custom taxonomy on your single post page. For this add single line of code in your single.php file within the loop:
ID, 'locations', 'Locations: ', ', ', ' ' ); ?>
we’ve used a function called the_terms() to retrieve all of the data associated with a taxonomy term in the form of an object.
Get All Terms in a Taxonomy
 0,
) );
$locations = array();
if ( count($terms) > 0 ):
  foreach ( $terms as $term )
    $locations[] = $term->name;

  $locations_str = implode(', ', $locations);
?>
We cover News stories around the country in places like  and more.
By default, your custom taxonomies use the archive.php template of your theme to display posts. However, you can create your custom archive template file to display them by creating
taxonomy-{taxonomy-slug}.php.
taxonomy-{taxonomy}-{slug}.phpWe could use this to create a theme template for a particular location, such astaxonomy-location-noida.phpfor the term “Noida.”taxonomy-{taxonomy}.phpIf the taxonomy werelocation, WordPress would look fortaxonomy-location.php.taxonomy.phpThis template is used for all custom taxonomies.
Wrapping Words!
Well, I hope you found Complete Steps to Create Custom Taxonomy in WordPress Without Plugin tutorial helpful for your project. Keep learning!. If you face any problem – I am here to solve your problems.
Are you want to get implementation help, or modify or extend the functionality of this script? Submit a paid service request

Pradeep Maurya is the Professional Web Developer & Designer and the Founder of “Tutorials website”. He lives in Delhi and loves to be a self-dependent person. As an owner, he is trying his best to improve this platform day by day. His passion, dedication and quick decision making ability to stand apart from others. He’s an avid blogger and writes on the publications like Dzone, e27.co